Achieving clean, reliable solder joints is fundamental to the success and longevity of any DIY electronics project. Sloppy soldering not only detracts from the aesthetic appeal but also introduces points of failure, leading to intermittent connections, short circuits, or complete project malfunction. This guide details specific techniques, tool considerations, and workflow adjustments designed to elevate your soldering precision from rudimentary to professional-grade, ensuring your efforts result in robust, functional, and visually tidy creations.
Foundational Tools for Consistent Results
The quality of your soldering directly correlates with the suitability and condition of your equipment. Investing in the right tools and understanding their application is the first step toward cleaner work.
Selecting the Right Soldering Iron
A temperature-controlled soldering iron is non-negotiable for consistent, clean joints. Irons with adjustable wattage (typically 40-60W for general electronics) allow you to match the heat output to the component size and board type. Fixed-temperature irons often run too hot or too cold for specific tasks, leading to burnt pads or cold joints. Look for an iron with interchangeable tips; chisel tips (1-3mm) are versatile for most through-hole components, while fine conical tips are better suited for delicate surface-mount work.
Choosing Quality Solder and Flux
Solder quality impacts flow and joint integrity. For DIY electronics, rosin-core solder is standard, as the flux is integrated. Leaded solder (e.g., 60/40 tin/lead or 63/37 tin/lead) melts at a lower temperature and flows more easily than lead-free alternatives, making it more forgiving for beginners and often resulting in shinier, more robust joints. Lead-free solders (e.g., SAC305) require higher temperatures and can be more challenging to work with, but are necessary for commercial projects or specific environmental requirements. External flux, applied separately, enhances solder flow and improves wetting, particularly useful for desoldering or working with older, oxidized components.
Essential Ancillary Gear
- Helping Hands/Vise: Secures PCBs and components, freeing both hands for soldering. Essential for stability and preventing accidental movement.
- Desoldering Braid/Pump: Necessary for correcting mistakes. Braid wicks away molten solder, while a pump uses suction.
- Tip Cleaner: Brass wool or a damp sponge keeps your iron tip free of oxidation and old solder, crucial for efficient heat transfer.
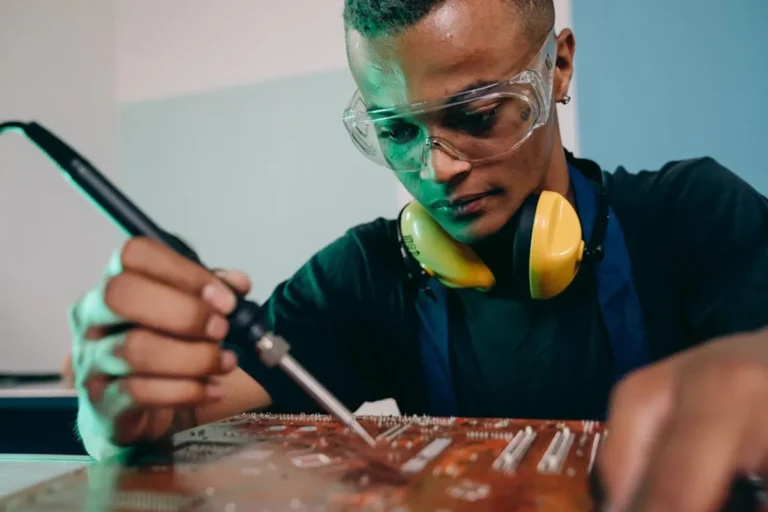
- Safety Glasses: Protects eyes from solder splatter or fumes.
- Fume Extractor/Fan: Vents harmful solder fumes away from your breathing zone, particularly important when working with leaded solder or in poorly ventilated areas.
Mastering the Soldering Technique
Proper technique ensures efficient heat transfer and optimal solder flow, producing strong electrical and mechanical connections.
Preparing Components and Surfaces
Before soldering, ensure all component leads and PCB pads are clean and free of oxidation. Use isopropyl alcohol (IPA) and a brush to remove grime. For new component leads, a quick "tinning" (applying a thin layer of solder to the tip) can improve wettability. Always pre-tin the iron tip before each use to maximize heat transfer.
The "Heat, Solder, Remove" Sequence
This sequence is critical for a perfect joint:
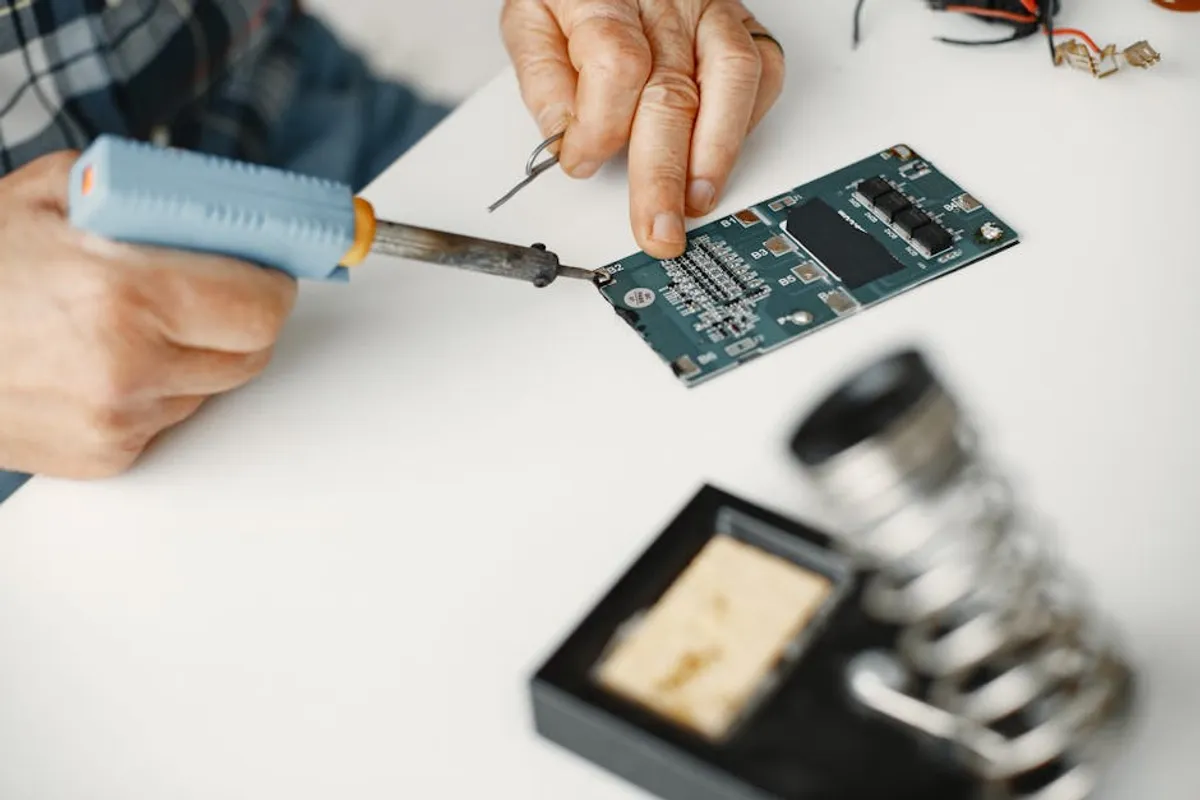
- Heat the Joint: Apply the clean, tinned soldering iron tip simultaneously to the component lead and the PCB pad. Hold it there for 1-3 seconds, allowing both surfaces to reach soldering temperature.
- Apply Solder: Introduce the solder wire to the heated joint, *not* directly to the iron tip. The molten solder should flow smoothly around the component lead and onto the pad, forming a concave, shiny fillet. Use only enough solder to form a good connection – excess solder increases the risk of bridging.
- Remove Solder, Then Iron: Once the joint is formed, remove the solder wire first, then immediately remove the soldering iron. This prevents the solder from cooling prematurely and forming a cold joint.
Pro Tip: Overheating components can cause irreversible damage. If solder doesn't flow within 3-5 seconds, re-evaluate your iron temperature, tip cleanliness, or joint preparation. Do not dwell with the iron; remove it and try again after a brief cooling period.
Troubleshooting and Preventing Common Flaws
Understanding common soldering issues allows for immediate correction and future prevention.
Cold Joints and Bridging
A cold joint appears dull, lumpy, or has poor adhesion. It results from insufficient heat or premature iron removal. Reheat the joint, add a tiny bit of fresh solder, and ensure proper heat transfer. Bridging occurs when solder inadvertently connects two adjacent pads or leads, creating a short circuit. Use desoldering braid or a pump to remove excess solder, then re-solder the individual connections carefully.
Overheating Components
Excessive heat can damage sensitive components, leading to internal failures. Use heat sinks (small clips that attach to component leads) for delicate parts like transistors or ICs. Work quickly, and allow components to cool between successive joints on the same part if necessary.
Post-Soldering Clean-Up for Longevity
Cleaning after soldering isn't just for aesthetics; it removes corrosive flux residue that can cause long-term reliability issues.
Removing Flux Residue
Even "no-clean" fluxes can leave a sticky residue that attracts dust and moisture, potentially leading to leakage currents or corrosion. Use a dedicated flux cleaner or isopropyl alcohol (IPA) with a stiff-bristled brush (an old toothbrush works well) to scrub away residue. Ensure the board is completely dry before applying power.
Inspecting Joints
After cleaning, visually inspect every joint under good lighting, preferably with magnification. Look for:
- Shiny, concave fillets (like a tiny volcano).
- Solder fully wetting both the component lead and the pad.
- No solder bridges between adjacent pads.
- No "spikes" or "icicles" of solder.
- Component leads trimmed neatly after soldering (use flush cutters).
Refining Your Soldering Workflow
Consistent practice and a methodical approach are key to continuous improvement. Start with simple projects, gradually increasing complexity. Focus on one perfect joint at a time rather than rushing through an entire board. Over time, your muscle memory and understanding of heat dynamics will improve, leading to consistently cleaner, more reliable DIY projects.
Frequently Asked Questions
What is the ideal soldering iron temperature?
For most leaded solder (60/40 or 63/37), a tip temperature between 320-370°C (608-698°F) is effective. Lead-free solders typically require higher temperatures, around 370-420°C (698-788°F). Adjust based on the size of the joint and component.
Why do my solder joints look dull or grainy?
Dull or grainy joints often indicate a "cold joint," where the solder did not reach its proper melting temperature or cooled too quickly. This results in poor electrical and mechanical connection. Reheat the joint, ensuring adequate heat transfer to both the pad and the component lead, and add a small amount of fresh solder.
How do I prevent lifting pads from the PCB?
Lifting pads usually occur from excessive heat, too much pressure on the iron, or dwelling too long on a single joint. Use the correct iron temperature, apply minimal pressure, and adhere to the "heat, solder, remove" sequence within a few seconds. Allow the board to cool between attempts if a joint is problematic.
Can I use plumbing solder for electronics?
No, plumbing solder is generally not suitable for electronics. It often contains different flux types that can be corrosive to electronic components and PCBs, and its composition (e.g., acid-core) is designed for different applications. Always use rosin-core solder specifically formulated for electronics.