
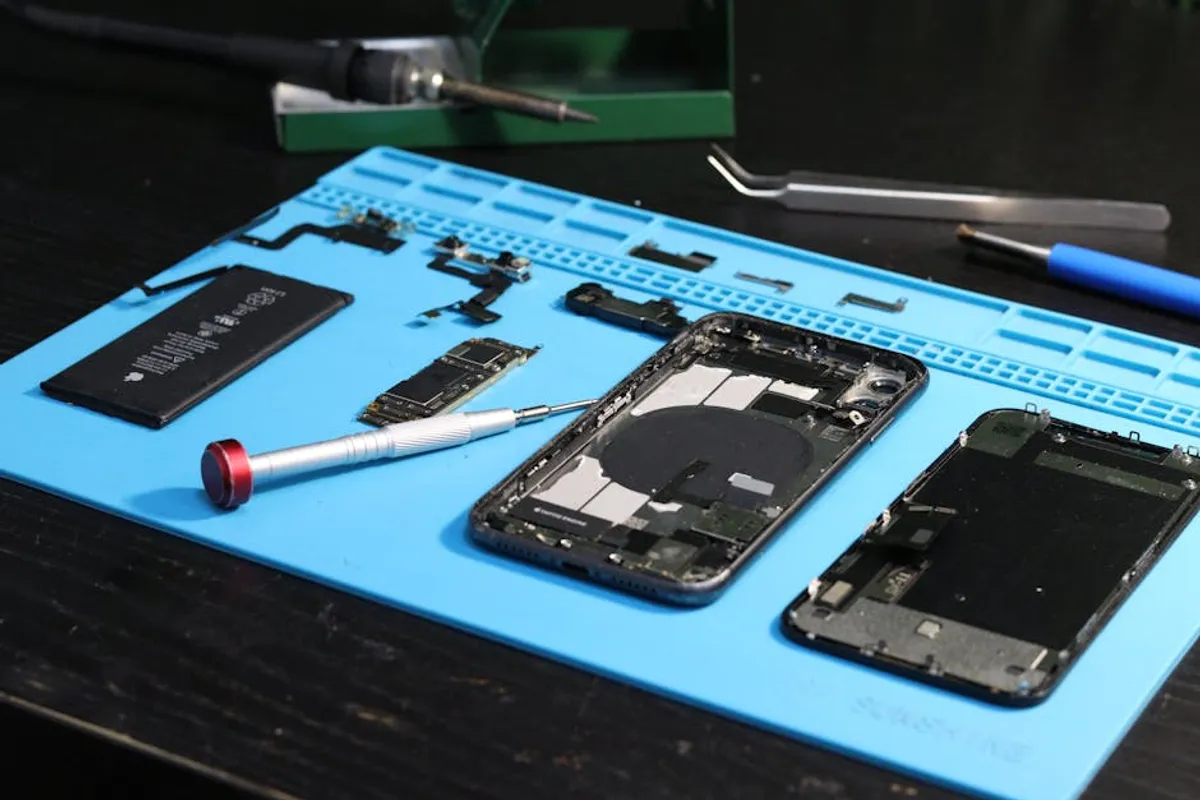
The decision to repair small electronics rather than replace them carries significant practical and financial implications. For many consumers, the immediate thought upon device failure is often replacement, driven by perceived complexity of repair, lack of tools, or concerns about cost. However, understanding the fundamental principles of DIY repair can unlock substantial savings, extend the lifespan of valuable devices, and reduce electronic waste. This approach requires a methodical understanding of common failure points, appropriate tools, and safety protocols, transforming a seemingly daunting task into an accessible skill. By focusing on diagnostics, component identification, and careful execution, individuals can effectively address a wide range of issues in devices from smartphones to portable speakers, making an informed choice that benefits both their wallet and the environment.
Essential First Steps: Safety and Diagnosis
Before any repair attempt, establishing a safe working environment and accurately diagnosing the problem are non-negotiable. Skipping these steps can lead to further damage, personal injury, or wasted effort.
Prioritizing Electrical Safety
Small electronics, even when disconnected from power, can retain residual charge, particularly in capacitors or batteries. Always assume a device is live until proven otherwise. The first action should always be to disconnect the device from all power sources – unplugging it from the wall, removing external batteries, and if possible, disconnecting internal batteries. Use non-conductive tools where appropriate and work in a dry, well-lit area to minimize risks.
Pro Tip: Before opening any device, search for its specific service manual or teardown guide. These resources often provide critical information on internal layouts, component identification, and crucial safety warnings, such as locations of high-voltage capacitors or specific battery removal procedures.
Systematic Troubleshooting Techniques
Effective diagnosis minimizes trial-and-error and targets the actual fault. Begin by observing external symptoms:
- Visual Inspection: Look for obvious physical damage, scorch marks, swollen batteries, or loose connections.
- Auditory Cues: Listen for unusual sounds like buzzing, clicking, or grinding.
- Functional Testing: Test all accessible functions. Does it power on? Do specific buttons respond? Is the screen displaying correctly?
- Software Check: For smart devices, rule out software glitches by performing a factory reset or checking for firmware updates if possible.
This systematic approach helps narrow down the potential culprits, guiding your repair efforts more efficiently.
Building Your Basic Repair Toolkit
A well-equipped toolkit is crucial for successful small electronics repair. Generic tools are often insufficient; precision and specialized instruments are required to handle delicate components and proprietary fasteners.
Precision Hand Tools
These are the foundation of any electronics repair kit:
- Precision Screwdriver Set: Includes Phillips, flathead, Torx, Pentalobe, and Tri-wing bits. Many small electronics use specialized screws.
- Spudgers and Opening Picks: Non-conductive tools made of plastic or nylon, essential for prying open cases without scratching or damaging internal components.
- Tweezers: Fine-tipped, anti-static tweezers are indispensable for handling small screws, wires, and delicate components.
- Magnifying Glass or Headband Magnifier: For inspecting tiny components and solder joints.
Diagnostic and Specialty Equipment
Beyond basic hand tools, certain items enhance diagnostic capabilities and facilitate more complex repairs:
- Multimeter: Used for checking voltage, current, and resistance. Essential for diagnosing power issues or circuit continuity.
- Soldering Iron Kit: A temperature-controlled soldering iron (25-40W recommended for small electronics), fine-gauge solder, desoldering braid, and flux are needed for replacing soldered components.
- Heat Gun/Hair Dryer: Useful for softening adhesive to remove screens or batteries.
- Anti-Static Wrist Strap and Mat: Prevents electrostatic discharge (ESD), which can permanently damage sensitive electronic components.
Common Small Electronics Failures and Solutions
While devices vary, many small electronics share common failure points and corresponding repair strategies.
Battery Degradation and Replacement
Lithium-ion batteries have a finite lifespan, typically 300-500 charge cycles, after which capacity significantly diminishes. Symptoms include rapid discharge, device shutting off unexpectedly, or a swollen battery casing. Replacement involves carefully disconnecting the old battery (often glued in place), removing it, and installing a new, compatible battery. Always source batteries from reputable suppliers to ensure safety and performance.
Screen and Display Issues
Cracked screens, dead pixels, or unresponsive touchscreens are frequent problems. Repair typically involves removing the damaged display assembly (often glued or screwed in), disconnecting its ribbon cables, and installing a new screen. This process requires patience and careful handling of delicate connectors. Ensure the replacement screen is specifically designed for your device model.
Charging Port Malfunctions
Damaged or loose charging ports prevent devices from charging or connecting to computers. This can be due to physical stress from repeated plugging/unplugging or debris accumulation. For some devices, the charging port is a modular component that can be replaced with basic soldering skills or by swapping a flex cable assembly. For others, it may be soldered directly to the main logic board, requiring advanced micro-soldering techniques.
Component Sourcing and Installation Best Practices
The quality of replacement parts directly impacts the success and longevity of a repair. Always prioritize OEM (Original Equipment Manufacturer) or high-quality aftermarket parts from trusted vendors. Inferior components can lead to poor performance, further damage, or safety hazards. When installing, pay meticulous attention to ribbon cable connections, ensuring they are fully seated and latched. Apply even pressure when reassembling cases to avoid cracking plastic or glass, and use appropriate adhesives sparingly where required.
Beyond the Fix: Testing and Maintenance
After completing a repair, thorough testing is essential before fully reassembling the device. Power on the device and test all functions that were previously problematic, as well as other critical features (e.g., camera, speakers, Wi-Fi). If all functions are restored, proceed with final reassembly. Ongoing maintenance, such as keeping charging ports clean and protecting screens with covers, can prevent future issues and extend the device's operational life.
Maximizing Your Repair Success
Successful DIY repair hinges on careful preparation, methodical execution, and a commitment to safety. Always start with the simplest potential solutions and progress to more complex ones. Document your process, take photos of each step, and organize removed screws and components to simplify reassembly. Patience is paramount; rushing a repair often leads to new problems. With practice and the right approach, repairing small electronics becomes a manageable and rewarding endeavor, offering a sustainable alternative to constant replacement.
Frequently Asked Questions About Small Electronics Repair
Can I repair any small electronic device myself?
While many common issues are addressable with basic tools and knowledge, some devices are designed for difficult repair or require specialized equipment and expertise. Always research the specific device's repairability before starting.
Where can I find reliable replacement parts?
Reputable online vendors specializing in electronics repair parts, such as iFixit, MobileSentrix, or specific OEM parts distributors, are good starting points. Verify compatibility with your exact device model before purchasing.
What is the most common mistake beginners make?
One of the most frequent errors is not thoroughly disconnecting power, leading to short circuits or damage. Another common mistake is losing or mixing up tiny screws during disassembly, making reassembly difficult or impossible.
How do I dispose of old or damaged electronic components safely?
Many electronic components, especially batteries, contain hazardous materials. Do not dispose of them in regular household trash. Look for local e-waste recycling programs, specialized battery drop-off points, or hazardous waste collection events in your community.