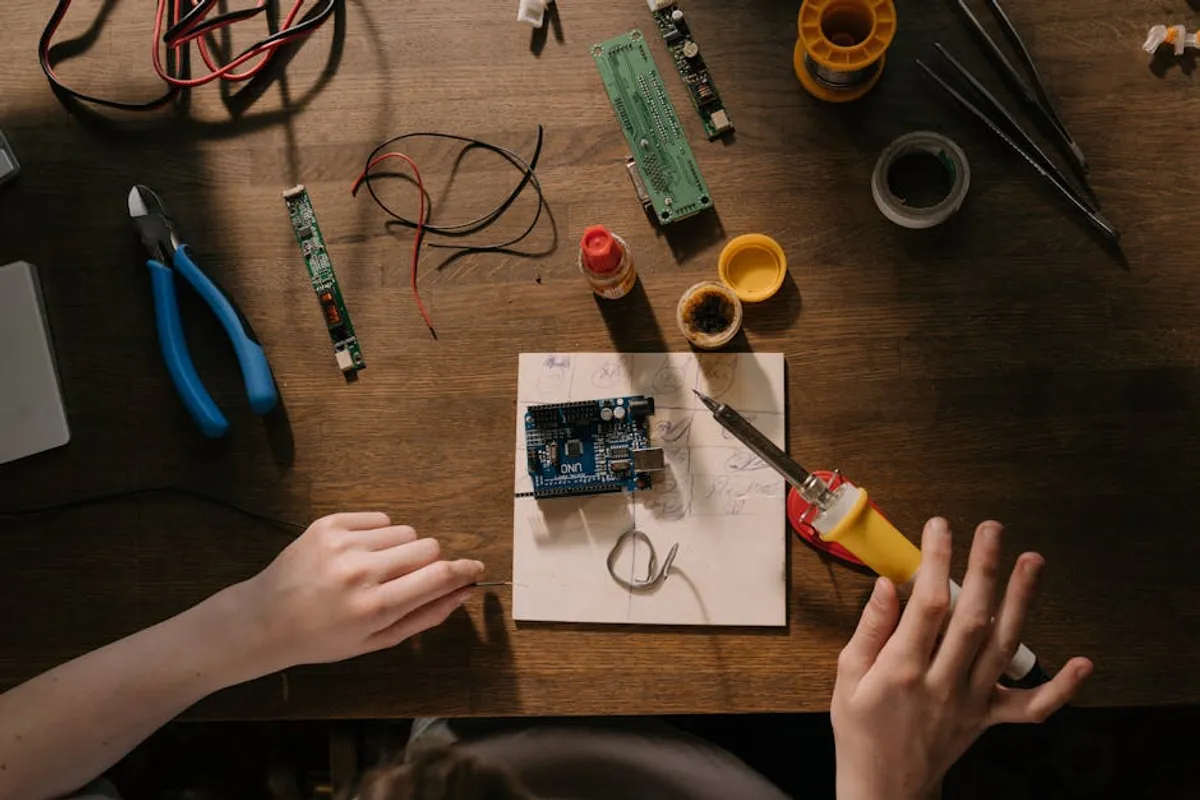
Embarking on the journey of DIY electronics offers a direct route to understanding how the devices that shape our world function. For beginners, the initial challenge often lies not in complex theories, but in identifying projects that are genuinely accessible, teach fundamental concepts, and deliver a tangible sense of accomplishment without requiring specialized tools or extensive prior knowledge. The most effective starting points balance simplicity with educational value, ensuring that each completed circuit builds confidence and a practical skill set. This guide focuses on projects designed to introduce core electronic principles, from basic circuit completion to microcontroller interaction, making the entry barrier as low as possible while maximizing learning potential.
What to Look For in a Beginner Electronics Project
Choosing the right first project is crucial for maintaining enthusiasm and building a solid foundation. Consider these factors:
- Clear, Step-by-Step Instructions: The project documentation should be unambiguous, often with diagrams or photos, guiding you through each connection and component placement. Avoid projects that assume prior knowledge.
- Accessible Components: Opt for projects that use common, inexpensive parts readily available from online retailers or local electronics stores. This minimizes initial investment and simplifies sourcing.
- Fundamental Concept Introduction: A good beginner project introduces a core electronic concept—whether it's Ohm's Law, transistor switching, or basic digital logic—in a practical, observable way.
- Minimal Specialized Tools: While a soldering iron is often necessary, projects that require expensive oscilloscopes or advanced programming interfaces are unsuitable for absolute beginners. Start with projects that can often be breadboarded without permanent connections.
- Tangible, Observable Outcome: Seeing an LED light up, a motor spin, or a sound play provides immediate feedback and reinforces learning. Abstract concepts are harder to grasp without a physical manifestation.
- Safety Considerations: Projects should operate at low voltages (typically 5V to 12V DC) to minimize electrical hazards. Always prioritize safety, especially when dealing with power sources.
1. Simple LED Blinker Circuit
The LED Blinker is the quintessential first electronics project, serving as an introduction to basic circuit construction and the behavior of common components. It typically involves a 555 timer IC, resistors, capacitors, and an LED. The circuit demonstrates timing principles and how passive components influence signal frequency, resulting in a visible, rhythmic flash. Its popularity stems from its straightforward design and the immediate, observable output of a blinking light, which provides instant gratification and confirmation of correct assembly.
Best for: Absolute beginners seeking to understand basic circuit flow, component identification, and the function of a timer integrated circuit. It's an excellent precursor to more complex timing or sequential logic projects.
Pros:
- Extremely low component count and cost.
- Clear, visible output (blinking LED).
- Teaches fundamental concepts like resistance, capacitance, and basic IC operation.
- Ideal for practicing breadboarding techniques without soldering.
Cons:
- Limited practical application beyond learning.
- Does not introduce microcontroller programming.
- Relies on specific timing calculations that might initially seem abstract.
Verdict: An indispensable starting point that provides a foundational understanding of active and passive components interacting to create a dynamic effect. Its simplicity makes it highly effective for building initial confidence.
2. Sound-Activated Switch
This project introduces beginners to the concept of input sensors and basic amplification. A small microphone (transducer) converts sound waves into electrical signals, which are then amplified by a transistor or operational amplifier. This amplified signal can then trigger another component, such as an LED or a small relay, to turn on or off. It demonstrates how external stimuli can control electronic circuits, moving beyond simple switches to responsive systems.
Best for: Learners interested in sensory input, basic amplification, and how analog signals can be used to control digital states. It’s a good step towards home automation or interactive installations.
Pros:
- Introduces microphones as input devices.
- Demonstrates transistor switching or op-amp amplification.
- Provides a tangible interaction between sound and electrical output.
- Components are generally inexpensive and widely available.
Cons:
- Sensitivity adjustment can be tricky for beginners.
- Requires a basic understanding of amplification principles.
- Can be susceptible to ambient noise if not properly designed.
Verdict: An engaging project that bridges the gap between passive circuits and interactive systems, offering a practical demonstration of how environmental factors can influence electronic behavior.
3. Light-Sensitive Night Light
The Light-Sensitive Night Light uses a photoresistor (Light Dependent Resistor, LDR) to detect ambient light levels. When the light level drops below a certain threshold, the circuit automatically activates an LED. This project is excellent for illustrating how variable resistors work and how a simple comparator circuit (often using a transistor or op-amp) can make decisions based on analog input. It's a practical application of basic sensor technology.
Best for: Beginners keen on understanding sensor integration, automatic control, and the practical application of variable resistors. It’s a foundational project for environmental monitoring or automated lighting.
Pros:
- Directly demonstrates sensor-based automation.
- Uses common, low-cost components.
- Provides a practical, useful outcome (an automatic light).
- Teaches about LDRs and basic threshold detection.
Cons:
- Calibration for specific light levels can require some trial and error.
- The concept of resistance changing with light might require initial explanation.
- More advanced versions might require a microcontroller, increasing complexity.
Verdict: A highly practical project that effectively introduces sensor-driven decision-making in electronics, making abstract concepts like resistance and light detection immediately relevant.
4. Arduino Traffic Light System
This project marks a step into the world of microcontrollers, specifically using an Arduino board. Beginners learn to program the Arduino to control three LEDs (red, yellow, green) in a sequence that mimics a real traffic light. It introduces fundamental programming concepts such as variables, loops, and delays, alongside basic digital output control. This project is often the first foray into coding for hardware, demonstrating the power of programmable logic.
Best for: Beginners ready to explore microcontroller programming and sequential control. It's ideal for those who want to combine basic coding with physical hardware interaction.
Pros:
- Introduces microcontroller programming with Arduino.
- Teaches basic digital output and timing control.
- Scalable to more complex sequencing or multiple intersections.
- Strong foundation for robotics and automation projects.
Cons:
- Requires an Arduino board and basic programming environment setup.
- Steeper learning curve than purely analog circuits.
- Troubleshooting can involve both hardware and software aspects.
Verdict: An essential project for transitioning from discrete component circuits to programmable systems, offering a clear path into the vast world of embedded electronics and software control.
5. DIY USB Charger Doctor
This project involves building a simple device to measure the voltage and current output of a USB power source. It typically uses a small display (like an OLED or LCD) and specialized ICs for voltage/current sensing. Beginners learn about power measurement, basic digital displays, and the importance of monitoring power delivery. It's a practical tool for diagnosing charging issues or understanding power consumption.
Best for: Learners interested in power electronics, measurement, and practical diagnostic tools. It's a useful project for understanding how devices draw power and how to verify power supply integrity.
Pros:
- Creates a genuinely useful diagnostic tool.
- Introduces voltage and current measurement principles.
- Often involves interfacing with small digital displays.
- Teaches about power integrity and USB standards.
Cons:
- May require more specialized ICs for accurate measurement.
- Involves dealing with USB power, requiring careful wiring.
- Calibration can be challenging without reference equipment.
Verdict: A highly functional project that provides practical insight into power delivery and measurement, equipping beginners with a useful tool and a deeper understanding of power electronics.
6. Simple Audio Amplifier
Building a basic audio amplifier involves taking a low-level audio signal (from a phone, MP3 player) and increasing its power to drive a small speaker. This project typically uses an operational amplifier (op-amp) or a dedicated audio amplifier IC. It introduces concepts like gain, impedance matching, and how to work with analog audio signals. The immediate reward is hearing amplified sound from a circuit you built.
Best for: Enthusiasts interested in audio electronics, signal processing, and understanding how sound is amplified. It's a gateway to more complex audio projects like mixers or instrument effects.
Pros:
- Directly demonstrates audio signal amplification.
- Introduces op-amps or audio amplifier ICs.
- Produces an audible, satisfying output.
- Components are generally inexpensive.
Cons:
- Requires careful attention to grounding to avoid noise.
- Understanding gain and impedance can be challenging initially.
- Power requirements can be higher if driving larger speakers.
Verdict: A rewarding project that provides a clear demonstration of analog signal processing and amplification, offering a tangible result in the form of audible sound from a custom circuit.
7. Temperature Sensor Display
This project combines a temperature sensor (like an LM35 or DHT11) with a microcontroller (e.g., Arduino) and an LCD or OLED display. Beginners learn how to read data from an analog or digital sensor, process that data with a microcontroller, and then output it to a display. It's a practical application of data acquisition and human-machine interface (HMI) principles.
Best for: Those interested in environmental sensing, data display, and combining microcontrollers with input/output devices. It's a stepping stone for weather stations or smart home sensors.
Pros:
- Introduces various types of temperature sensors.
- Teaches data reading, processing, and display with a microcontroller.
- Provides a clear, numerical output.
- Foundation for more complex sensor networks.
Cons:
- Requires microcontroller programming knowledge.
- Interfacing with displays can be complex for first-timers.
- Accuracy depends on sensor choice and calibration.
Verdict: A highly informative project that effectively demonstrates the complete chain from sensor input to processed data output on a display, crucial for many IoT and monitoring applications.
8. Capacitive Touch Lamp
A capacitive touch lamp responds to the touch of a human finger, turning an LED on or off. This project often uses a dedicated capacitive touch sensor IC (like the TTP223) or implements the principle using a microcontroller's pins. It introduces the concept of human-computer interaction through non-mechanical means, demonstrating how subtle changes in capacitance can be detected and translated into a digital signal.
Best for: Learners curious about human interface devices, non-contact sensing, and the principles of capacitance. It's a good introduction to modern touch-sensitive controls.
Pros:
- Engaging and interactive user experience.
- Introduces capacitive sensing technology.
- Can be built with minimal components or a microcontroller.
- Demonstrates an alternative to physical buttons.
Cons:
- Sensitivity can be affected by environmental factors.
- Requires careful layout to avoid false triggers.
- Understanding capacitance changes can be abstract.
Verdict: A fascinating project that offers a practical introduction to modern touch-sensing technology, providing a clear demonstration of how subtle electrical changes can drive user interaction.
9. Logic Gate Trainer
This project involves assembling a basic circuit that demonstrates the fundamental building blocks of digital electronics: logic gates (AND, OR, NOT, XOR). Using common ICs like the 74LS series, beginners can wire up inputs (switches) and observe outputs (LEDs) to understand truth tables and Boolean logic. It's a direct, hands-on way to grasp the principles behind all digital computing.
Best for: Those seeking a deep dive into digital electronics, computer architecture fundamentals, and Boolean logic. It's essential for understanding how microprocessors work at a basic level.
Pros:
- Directly illustrates the function of fundamental logic gates.
- Builds a strong foundation for digital circuit design.
- Uses common, inexpensive TTL/CMOS ICs.
- Highly educational for computer science and engineering students.
Cons:
- Can seem abstract without a clear application.
- Requires understanding of truth tables and Boolean algebra.
- Less "flashy" than projects with immediate practical uses.
Verdict: A crucial educational project for anyone serious about understanding digital systems, providing a concrete, interactive way to learn the core principles of computing logic.
10. DIY Power Bank
A DIY power bank involves assembling a circuit that can charge a lithium-ion battery and then regulate its output to charge USB devices. This project introduces battery management, charging circuits (e.g., TP4056 module), and boost converters (e.g., MT3608 module). It emphasizes safety in handling batteries and the principles of power conversion, resulting in a highly practical, portable power source.
Best for: Learners interested in portable power solutions, battery technology, and power conversion. It's a practical project for creating useful, self-contained devices.
Pros:
- Creates a highly practical and portable device.
- Introduces battery charging and boost conversion principles.
- Emphasizes battery safety and protection circuits.
- Components are often available as pre-made modules, simplifying assembly.
Cons:
- Requires careful handling of lithium-ion batteries due to safety risks.
- Understanding power efficiency and capacity ratings can be complex.
- Component selection is critical for safety and performance.
Verdict: A challenging but highly rewarding project that provides invaluable experience with power management, battery technology, and practical device construction, yielding a genuinely useful outcome.
11. FM Radio Receiver
Building a simple FM radio receiver involves tuning into radio waves and converting them into audible sound. This project typically uses specialized radio ICs (like the TEA5767 or RDA5807) interfaced with a microcontroller, or discrete components for a simpler, less sensitive "crystal radio" style. It introduces concepts of radio frequency (RF) electronics, modulation, and demodulation, offering a glimpse into wireless communication.
Best for: Curious minds interested in radio technology, wireless communication, and signal processing. It's a fascinating entry point into RF engineering and telecommunications.
Pros:
- Directly demonstrates wireless communication principles.
- Can be built with dedicated ICs for simpler assembly.
- Produces an audible, real-world output (radio broadcasts).
- Introduces antennas and tuning circuits.
Cons:
- RF circuits can be sensitive to interference and layout.
- Understanding modulation/demodulation can be complex.
- Performance depends heavily on component quality and antenna.
Verdict: An advanced beginner project that provides a captivating introduction to the principles of radio frequency electronics and wireless communication, offering a unique and audible reward.
12. Simple Robot Car Chassis Control
This project focuses on controlling the movement of a small robot car chassis using a microcontroller (like Arduino) and motor driver ICs (e.g., L298N). Beginners learn about motor control, H-bridges, and basic robotics programming to make the car move forward, backward, and turn. It combines mechanical assembly with electronic control and programming, offering a comprehensive introduction to mechatronics.
Best for: Enthusiasts eager to combine electronics with mechanics and programming to create moving, autonomous systems. It's a direct path into robotics and automation.
Pros:
- Combines electronics, mechanics, and programming.
- Introduces motor control and H-bridge drivers.
- Provides a tangible, moving robot as an outcome.
- Highly expandable with sensors for autonomous navigation.
Cons:
- Requires a basic understanding of mechanical assembly.
- Motor control can be power-intensive, requiring careful power supply design.
- Troubleshooting can involve mechanical, electrical, and software issues.
Verdict: A highly engaging and multidisciplinary project that provides an excellent foundation in robotics by integrating mechanical design, electronic control, and programming into a functional, moving platform.
Choosing the Right Project for Your Journey
The "best" project is ultimately the one that aligns with your personal learning style, available resources, and specific interests. If you're entirely new, start with projects that require minimal soldering and focus on breadboarding, like the LED Blinker or Sound-Activated Switch. As your confidence grows, introduce microcontrollers with the Arduino Traffic Light System, then delve into more specialized areas like audio or robotics. Always prioritize projects with clear, well-documented instructions and a supportive community. The goal is continuous learning, so don't hesitate to modify existing projects or combine elements from several to create something unique. Each successful build, no matter how small, reinforces your understanding and fuels further exploration.
Frequently Asked Questions
What basic tools do I need for beginner electronics projects?
For most beginner projects, you'll need a breadboard, jumper wires, a multimeter for testing voltage and continuity, a small soldering iron with solder (if permanent connections are needed), wire strippers, and a power supply (often a USB power adapter or battery pack). A basic set of small screwdrivers and pliers can also be useful.
Is soldering difficult for beginners?
Soldering requires practice but is not inherently difficult. Many beginner projects can be built on a breadboard without soldering. When you do start soldering, begin with simple connections on practice boards. Focus on proper technique: clean iron tip, correct temperature, and applying solder to the joint, not the iron. There are numerous online tutorials and videos that demonstrate correct soldering practices.
How do I find components for my projects?
Components are widely available from online electronics distributors such as Digi-Key, Mouser, SparkFun, Adafruit, or local electronics shops. For specific project kits, many tutorial sites or educational suppliers offer complete packages with all necessary parts. Always check the component specifications to ensure compatibility with your project's voltage and current requirements.
What's the difference between analog and digital electronics?
Analog electronics deal with continuous signals that can take on any value within a range (e.g., the varying voltage from a microphone). Digital electronics deal with discrete signals, typically represented by two states (e.g., on/off, 0/1), which form the basis of computing and logic. Many modern projects combine both, using analog sensors that feed into digital microcontrollers.
How can I troubleshoot my project if it doesn't work?
Troubleshooting is a crucial skill. Start by double-checking all connections against your schematic or wiring diagram. Use a multimeter to verify voltage at different points and check for continuity where expected. Look for common errors like reversed polarity, short circuits, or incorrectly placed components. If using a microcontroller, verify your code and ensure it's uploaded correctly. Online forums and communities are excellent resources for specific troubleshooting advice.