Microcontrollers are the silent workhorses behind countless electronic devices, from smart home gadgets and automotive systems to industrial automation and medical equipment. For anyone looking to understand how modern electronics function, or to build their own custom smart devices, grasping the fundamentals of microcontrollers is an essential first step. This guide provides a foundational understanding, outlining what microcontrollers are, how they operate, and how to begin working with them.
What Defines a Microcontroller?
A microcontroller is a compact integrated circuit designed to govern a specific operation in an embedded system. Unlike a general-purpose microprocessor found in a computer, which requires external components like RAM, ROM, and I/O controllers, a microcontroller integrates all these elements onto a single chip. This self-contained nature makes them ideal for tasks that require dedicated processing power, minimal space, and low power consumption. They excel at controlling, measuring, and manipulating data from the physical world, often in real-time.
Core Components of a Microcontroller
Despite their compact size, microcontrollers house several critical functional units:
- Central Processing Unit (CPU): The "brain" that executes program instructions, performs arithmetic and logic operations, and manages data flow. Its architecture (e.g., 8-bit, 16-bit, 32-bit) dictates its processing power and efficiency.
- Memory:
- Flash Memory (Program Memory): Stores the program instructions (firmware) that the microcontroller will execute. This memory is non-volatile, meaning it retains data even when power is removed.
- SRAM (Data Memory): Used for temporary data storage during program execution, such as variables and intermediate results. This memory is volatile and loses its contents when power is off.
- EEPROM (Electrically Erasable Programmable Read-Only Memory): A smaller, non-volatile memory type used for storing configuration settings or calibration data that needs to persist across power cycles but can be updated occasionally.
- Input/Output (I/O) Peripherals: These interfaces allow the microcontroller to interact with the outside world. Common peripherals include:
- General Purpose Input/Output (GPIO) Pins: Configurable digital pins that can be set as inputs (to read sensor data or button presses) or outputs (to control LEDs, relays, or motors).
- Analog-to-Digital Converters (ADCs): Convert analog signals (like temperature or light intensity from sensors) into digital values the CPU can process.
- Digital-to-Analog Converters (DACs): Convert digital values from the CPU into analog signals (less common but used for audio output or precise voltage control).
- Timers/Counters: Used for precise timing, generating delays, measuring pulse widths, and creating Pulse Width Modulation (PWM) signals for motor speed control or dimming LEDs.
- Communication Interfaces: Protocols like UART, SPI, I2C, and USB enable the microcontroller to communicate with other chips, sensors, displays, and computers.
How Microcontrollers Execute Tasks
The operation of a microcontroller follows a simple, continuous cycle: fetch, decode, and execute. When powered on, the CPU fetches the first instruction from program memory (Flash). It then decodes this instruction to understand what operation needs to be performed. Finally, it executes the instruction, which might involve reading data from an input pin, performing a calculation, or writing data to an output pin. This cycle repeats millions of times per second, allowing the microcontroller to respond to inputs and control outputs in real-time.
Selecting a Starting Point
For beginners, the choice of microcontroller often comes down to ease of use, available learning resources, and community support. While many architectures exist (e.g., PIC, AVR, ARM Cortex-M), several development platforms simplify the initial learning curve:
Best for: Rapid prototyping, extensive community, beginner-friendly IDE
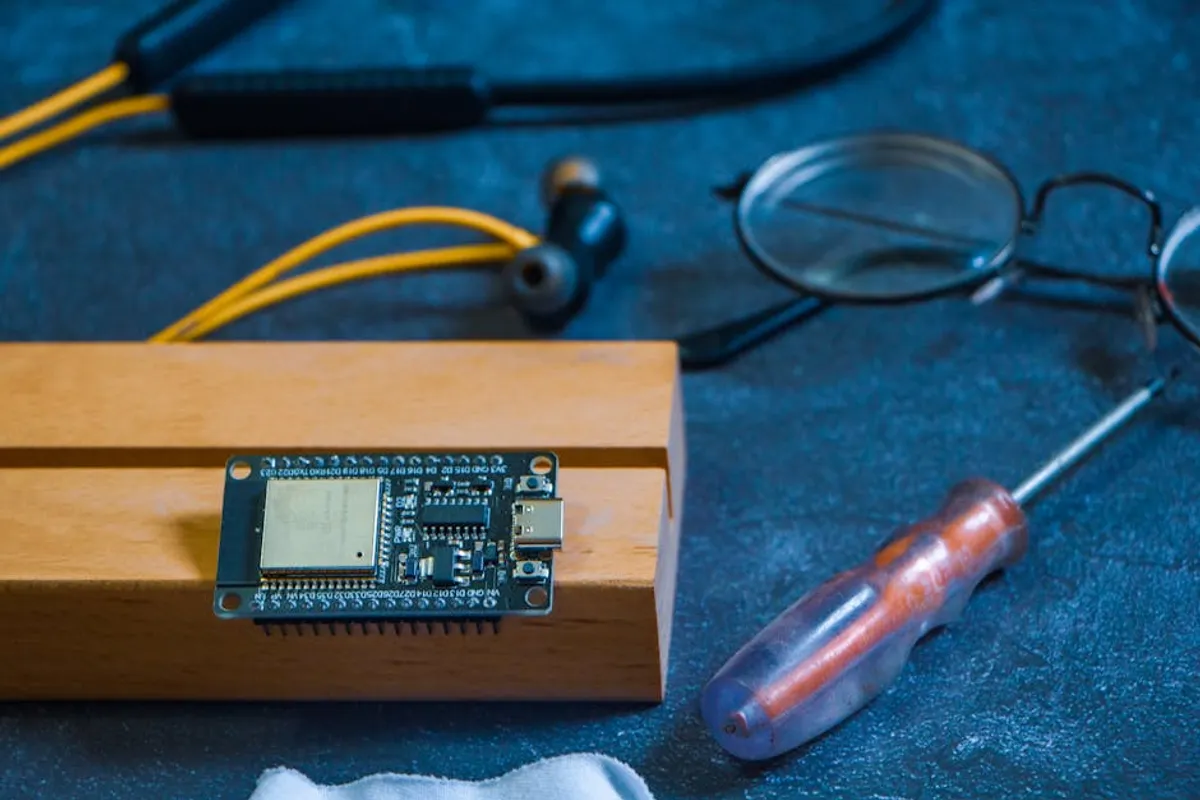
Development boards like those based on the ATmega328P (popularized by Arduino) or ESP32 (known for integrated Wi-Fi/Bluetooth) are excellent starting points. They provide a complete package with necessary support circuitry, a USB interface for programming, and often a pre-installed bootloader that simplifies code uploading. The associated Integrated Development Environments (IDEs) often abstract away much of the low-level complexity, allowing beginners to focus on logic and application.
Pro Tip: When starting, prioritize development boards with active online communities and abundant tutorials. Troubleshooting is inevitable, and a strong support network significantly reduces frustration. Focus on understanding fundamental concepts like digital I/O, analog input, and basic communication protocols before moving to more complex features.
Programming Your First Microcontroller
The primary language for microcontroller programming is C or C++. This offers direct control over hardware and efficient resource utilization. However, many beginner-friendly platforms provide simplified programming environments:
- Arduino IDE: Utilizes a simplified version of C++ with a rich set of libraries that abstract complex hardware interactions into easy-to-use functions. This is arguably the most accessible entry point for beginners.
- MicroPython/CircuitPython: These are Python implementations optimized for microcontrollers. They offer a higher-level, more readable syntax, which can accelerate development for certain boards (like ESP32 or many Adafruit boards), though they might be less efficient in terms of memory and processing speed compared to C/C++.
- PlatformIO: A versatile, open-source ecosystem that supports a wide range of microcontrollers and development boards. It integrates with popular code editors like VS Code, offering advanced features like unit testing and library management, suitable for when you outgrow the basic Arduino IDE.
Building Your First Project
Starting with a simple project is crucial for solidifying your understanding. A common first step is "blinking an LED," which teaches you how to control a digital output and introduce delays. From there, you can progress to:
- Reading a button press (digital input).
- Reading a temperature sensor (analog input with ADC).
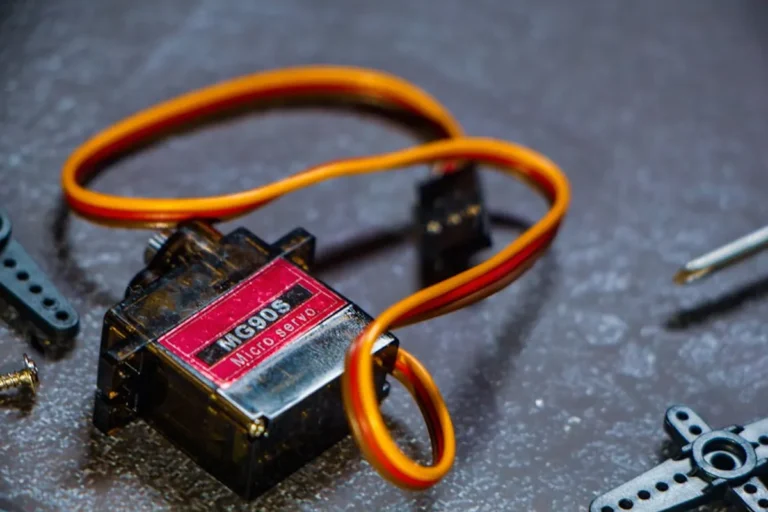
- Controlling a small motor or a servo.
- Displaying text on an LCD screen.
- Establishing serial communication with a computer.
Each project builds upon previous concepts, gradually expanding your skill set in embedded systems development.
Frequently Asked Questions About Microcontrollers
Are microcontrollers difficult to learn?
Learning microcontrollers can present a steep initial curve, but modern development boards and extensive online resources have made them more accessible. Starting with beginner-friendly platforms and simple projects helps manage the complexity.
What is the difference between a microcontroller and a microprocessor?
A microcontroller is a self-contained computer on a single chip, including CPU, memory, and I/O peripherals, designed for specific embedded tasks. A microprocessor is just the CPU, requiring external components to function as a complete computer, typically for general-purpose computing.
Can I use Python to program microcontrollers?
Yes, MicroPython and CircuitPython are popular options for programming many microcontrollers. They offer a more accessible syntax compared to C/C++, making them suitable for rapid prototyping and educational purposes, though they may have performance limitations for highly optimized applications.
What's the cheapest way to start with microcontrollers?
Entry-level development boards like basic Arduino clones or ESP32/ESP8266 modules are very inexpensive, often available for under $10-$15. Combined with a breadboard, some jumper wires, and basic components like LEDs and resistors, you can begin experimenting for a minimal investment.